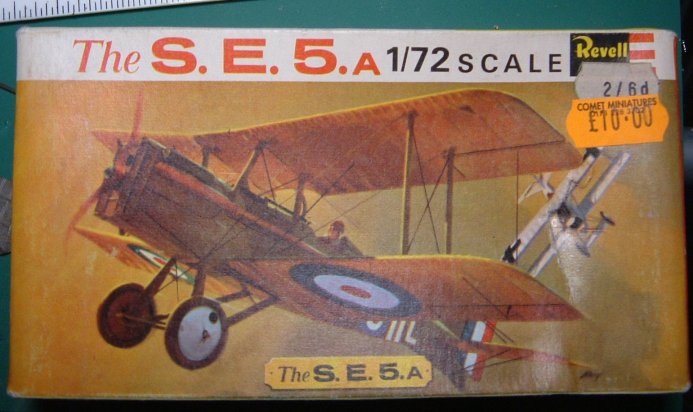
This kit of the old Revell SE5a has been hanging around in my stockpile for five or six years. Part of the problem having been the fact that the decals were shot to pieces and it took a long time to be inspired to re-work this old beast, given the length of time taken to complete the conversion of my loft into a study. I reckon this will be the first model I've completed in 18 months.
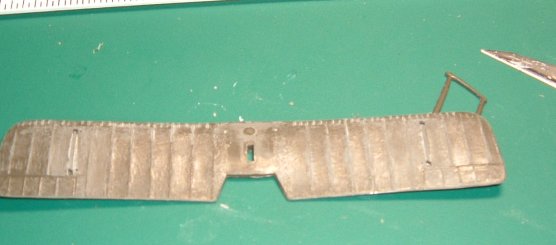
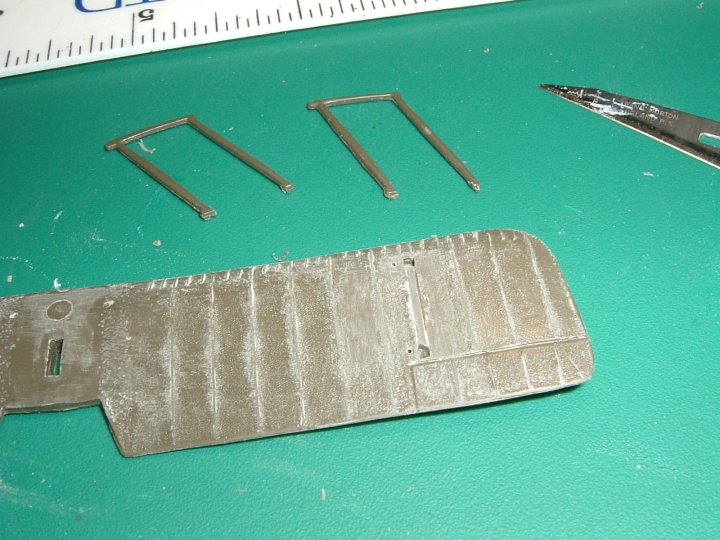
I made a start in February 2005, having read that after the war, a load of SE5as were crated up and given as gifts to South Africa, Australia and Canada. While I sanded off as much of the moulded 'cloth texture' I started researching a SAAF SE5a, serial number 320.
The sources I found were contradictory and inconclusive, but a minor change of plan and a Blue Rider decal set for a SAAF machine circa 1921did turn up, together with some profiles at http://www.ipmssa.za.org/
I carefully cut off the moulded exhausts and sanded the surface smooth.
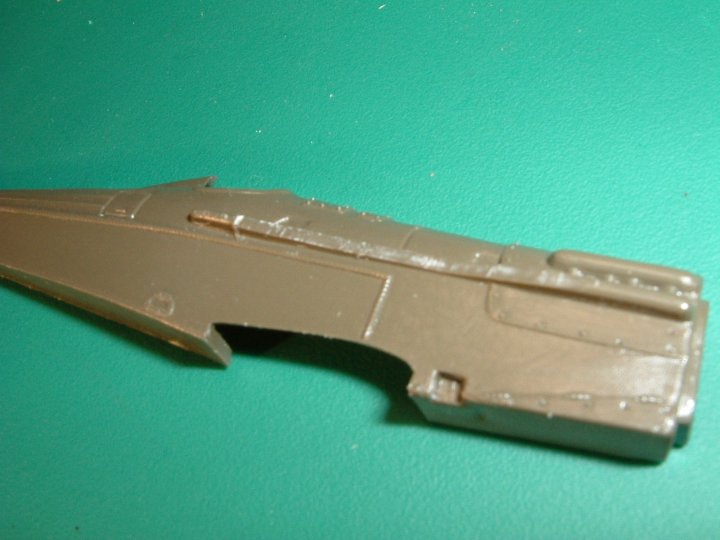
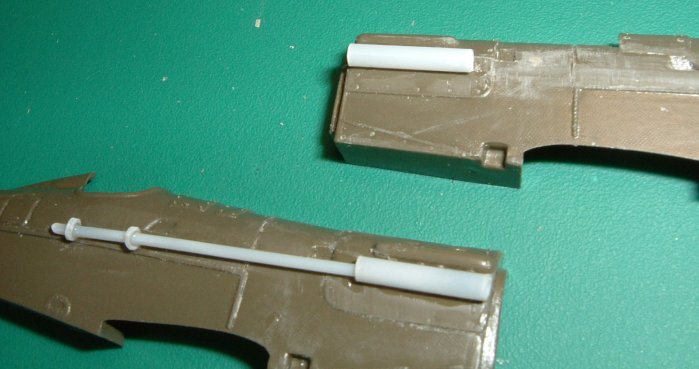
The exhausts were replaced by scratch-built items from styrene rod and tube, filled with Italari putty (wierd stuff - you can paint it on in layers, a bit like a thick Tip-Ex.)
Once painted, the final result looked no different from before, so I needn't have bothered with this!
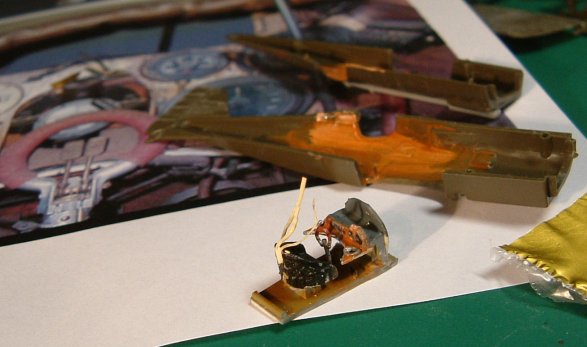
The interior was a scratchbuild from various bits of plasticard, foil seatbelts and bits from the scrapbox. Picture of the full size cockpit was found on the Internet.
Slivers of plastic tube used to represent instruments.
Cream paint and Dulux Brushwood used to finish the surfaces.
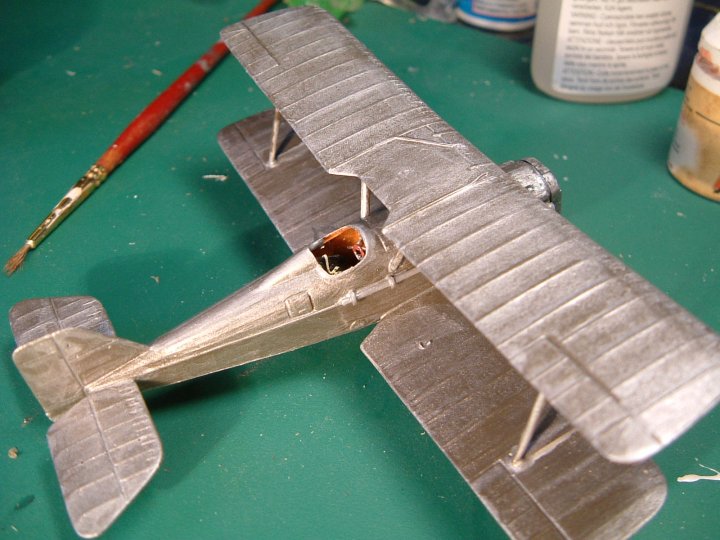
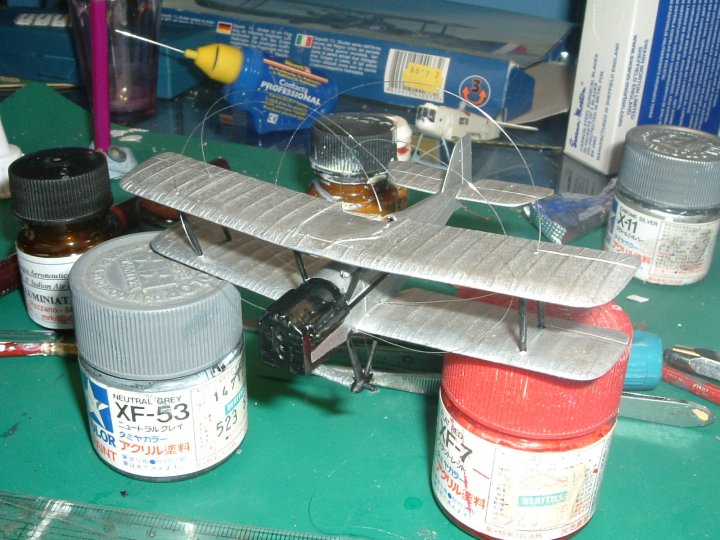
I put only a hint of rigging on here, being so out of practice, I didn't want to push my luck.
The fishing trace was secured at one end with a drop of superglue into a pre-drilled hole. Once the lines were secure, they were pulled tight and another drop of superglue used to fix in place. As soon as that was set, the ends of the fishing trace were cut off, and any remaining hole filled and sanded, before repainting the affected surfaces.


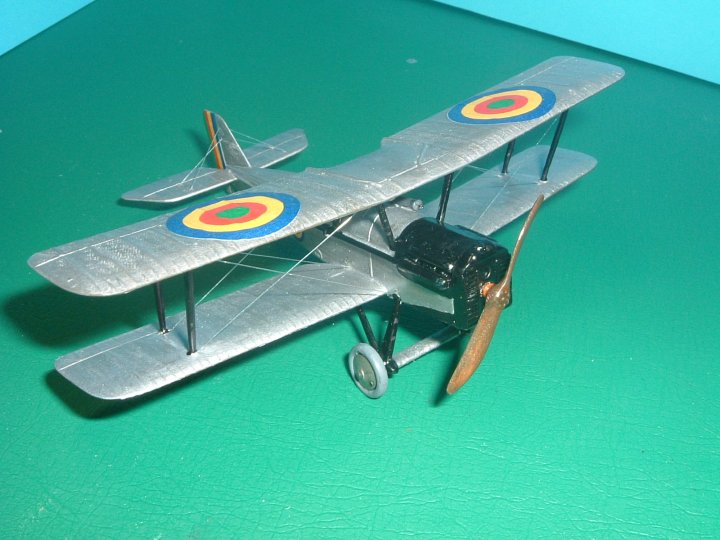
Job done. Not brilliant, but considering I was so out of practice, it's not bad. Next one will be better.
Now, where's that Albatros D.I?