 |
Considering
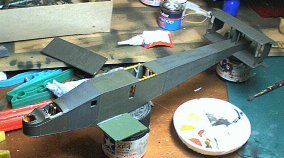
the age of this kit, the first thing that struck me was the feeling of
'over-engineering.' The kit designers must have had a field day with
this one.
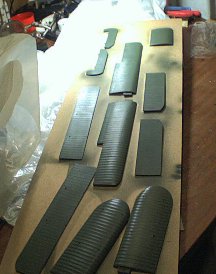
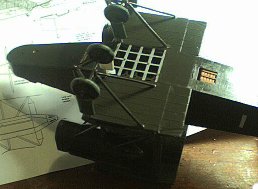
Each wing was pre-drilled with holes for rigging, which meant I had to work very methodically for fear of missing off a rigging wire until it was too late to apply from the interior of the wings. First step, clean-up main bits and spray. The parts were on the whole extremely clean with hardly any flash and the mould - lines were almost unnoticeable. Eat your heart out Pegasus. |
| There were prominent ejector holes on the main struts which needed sanding off... | 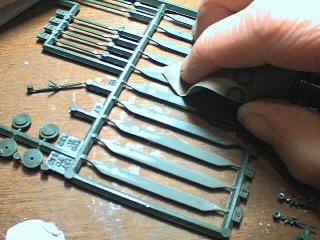 |
 |
The
'concertina' effect which allowed for the wings to fold on the original
had to be applied using a needle file. I did this without looking too
closely at the drawings kindly sent to me by Len Smith. Ooops...(Overdid
it a bit here.)
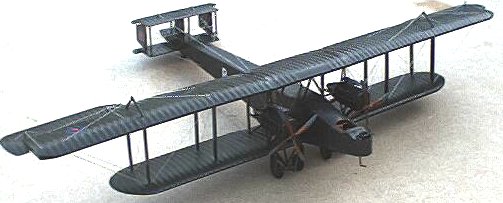
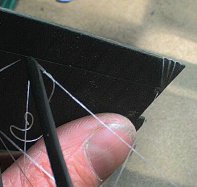
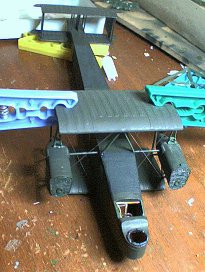
Even at this stage, the rigging (lycra thread) started to make the wing assemblies a bit of a spiders' web. |
| I cannot believe that some modellers rig models with rigid material like wire or sprue, with the rigging on this model going on so early, and with the amount of handling it had to stand as the main assemblies were assembled, my model would never have been completed. The lycra thread stayed in place throughout. | 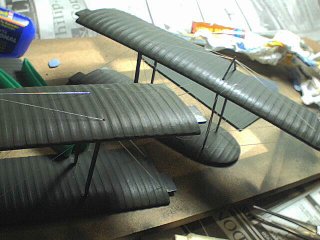 |
 |
Most of
the glazing was missing from the box, so I applied Clingfilm to the
openings, after painting Humbrol Clearfix around the frames. When dry,
the excess clingfilm was cut away with a sharp blade.
This seemed to capture the slightly crumpled look of the full-size aircraft's windows, |
 |
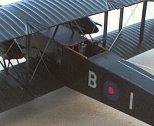
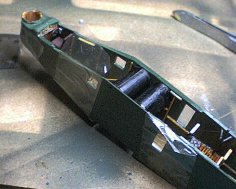
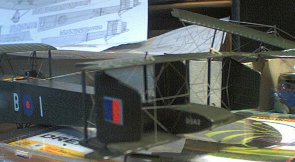
At this point, I entered into e-mail correspondence with a number of people about a peculiar coloured band around the fuselage. This was visible in a number of (black and white) period photographs. |
| I realised we were in uncharted territory when I posted a suggestion to the WW1 mailing list that these bands were probably Royal Blue, or even day-glo orange and NOBODY REPLIED ! | 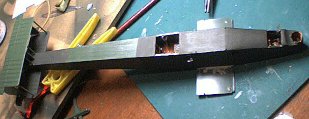 |
| To cut a
long story short, in a more sober mood, I eventually concluded that the
two fuselage bands, which appeared light-coloured on the photographs,
were in fact a bluer shade of the NIVO or PC10 of the rest of the
aircraft. A guess in other words.
I mixed dark blue and PC10 together in equal proportions, and ended up with a darker green colour. At the end of the day, it looks right... |
 |
 |
Rigging
the tail took hours. By now I'd spent the best part of a month on this
project, and all I want to do now is see an end to it.
The control horns are from sheet styrene, and keep snapping off. By now, I know they are doing this deliberately. |
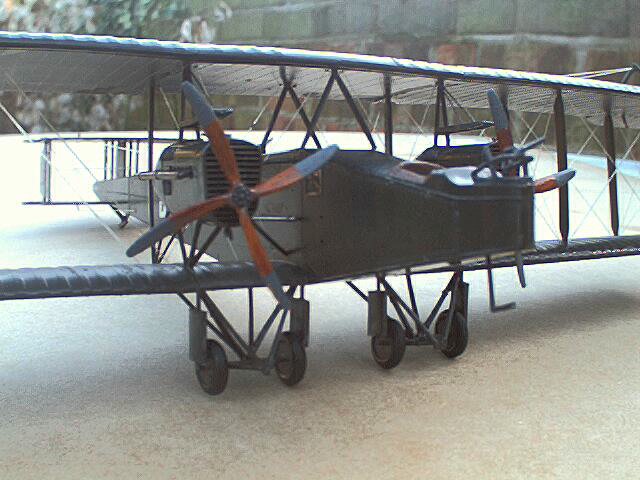
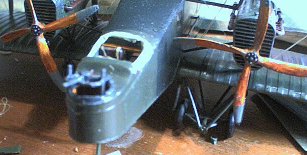
| Undercarriage
on - several bits missing, so I had to fabricate shock absorbers from
sprue and card. Only some of the wheels touch the ground. I no
longer care.
The cockpit coaming was a poor piece of moulding, so I rolled thin sausages of milliput and applied this instead. Oh good, the monster that lives in the carpet has just eaten one of the Lewis guns. |
 |
 |
Decals needed touching up with paint after they all cracked up in water.
|