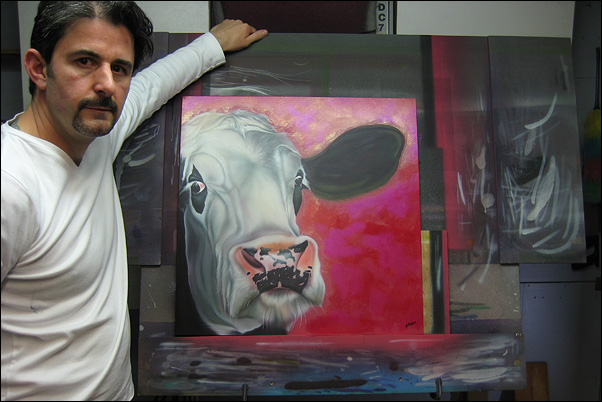
'The Inquisitive Cow' Step by Step
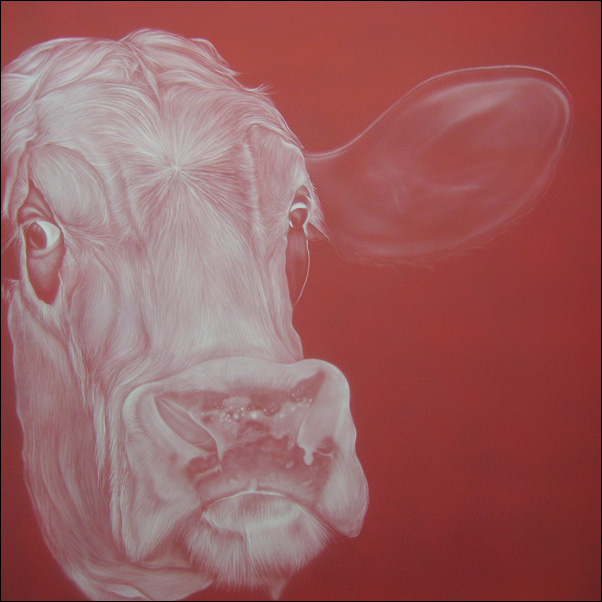
The following is created using acrylic paints with both airbrush and brush technique. The surface is an aluminium panel which when finished will be lacquered and polished to highlight the special effect paints used in certain areas. The image itself is of a cow I photographed looking over a gate. I was after a more contemporary humorous look so I used the 'liquify' tool in Adobe Photoshop to enlarge and stretch certain features.
Please scroll down to see how I paint this portrait.
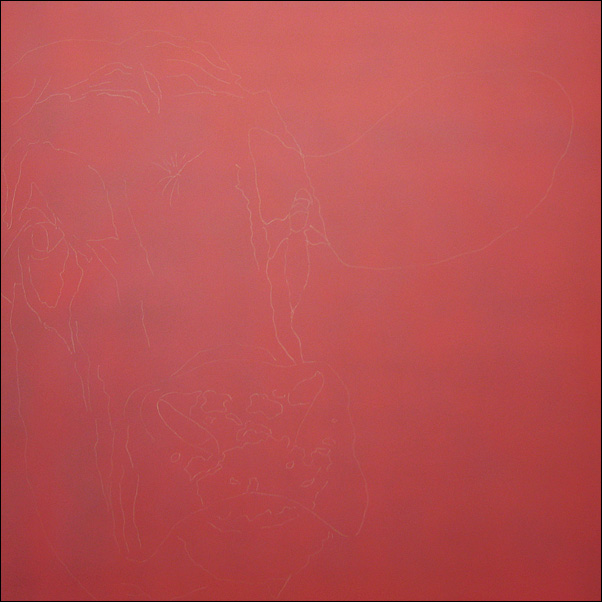
STEP 1
The initial preperation of the panel was to scuff the surface with a grey Scotchbrite pad and then prime. The primed surface was then scuffed in the same manner to achieve a good surface for the paint to adhere to. Using a mixture of Auto Air basecoat sealer white and semi opaque flame red I spray a base coat. Complete coverage at this stage is not critical as I am simply creating a background for the early stages of the image. I will be enhancing any background colour that is still visible with some special effects paints. A loose sketch of the main features are then drawn onto the surface with a cream coloured soft pencil.
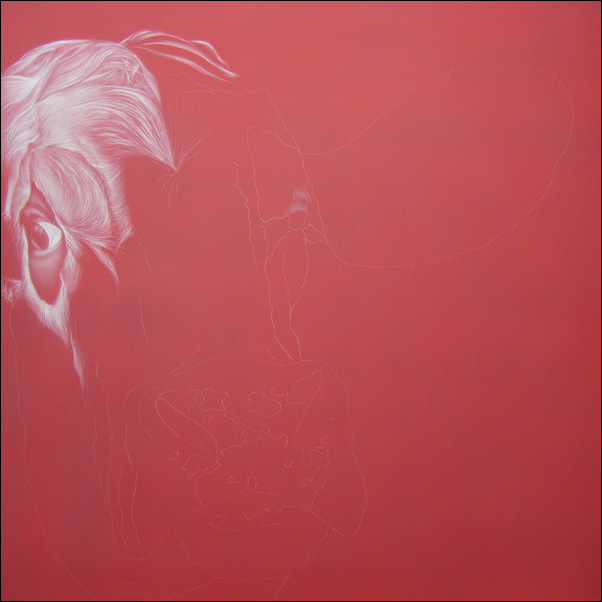

STEP 2
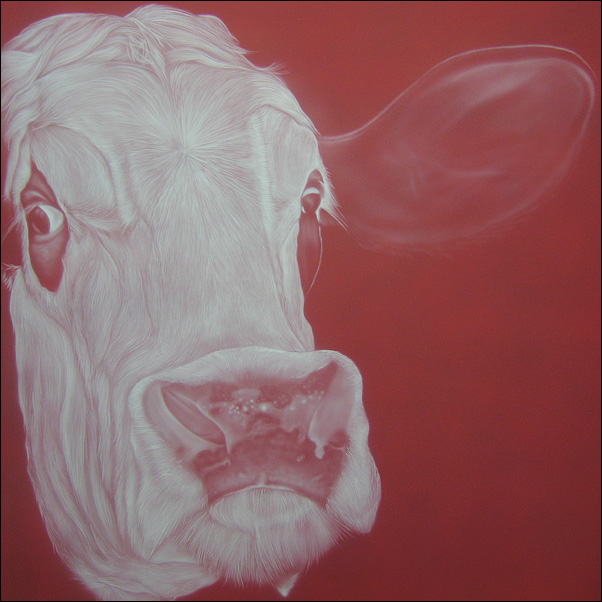
Using my Iwata hp-c airbrush I spray the hair detail making sure that I follow the direction of each section correctly. I am using Auto Borne paint reduced with 4011 flash reducer.This will all help to add form to my portrait.
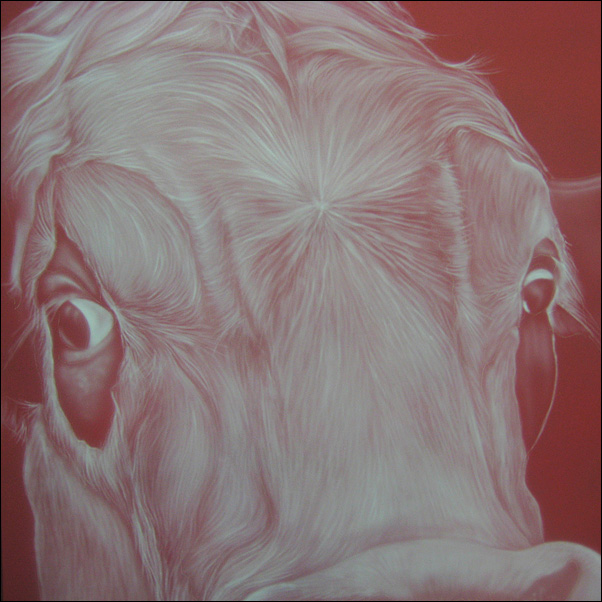
Here you can see the level of detail I have achieved with the airbrush. it's not super detailed but enough to follow with the next steps. At this stage the loose airbrushing is completed and I have an underpainting that I can now build upon.

STEP 3
I am now working more detai into the hairs with a nylon brush and the same paint as I used with the airbrush. In the photograph above I have started to work on the right hand side and you can see an improvement in the density of hair and less of the background is visible. I continue to work back and forth with brush and airbrush creating denser hair areas with a heavier spray of white using the airbrush.
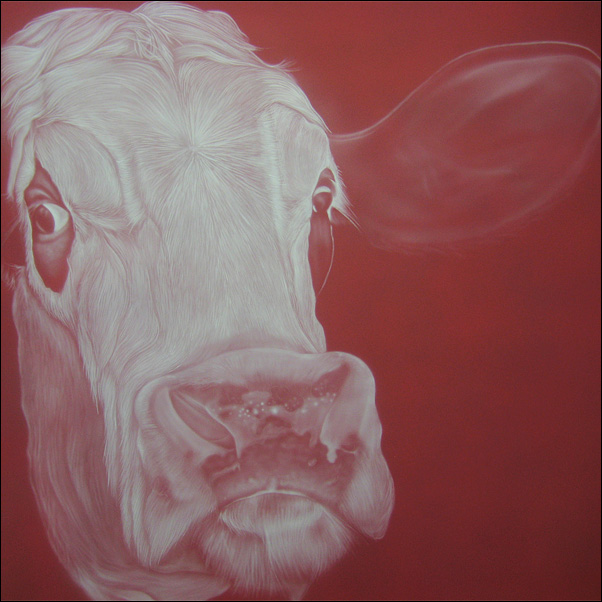
Hair detail is much improved using the brush as you can see and when the whole piece is completed using this method I am ready to paint with darker colours to give some depth.
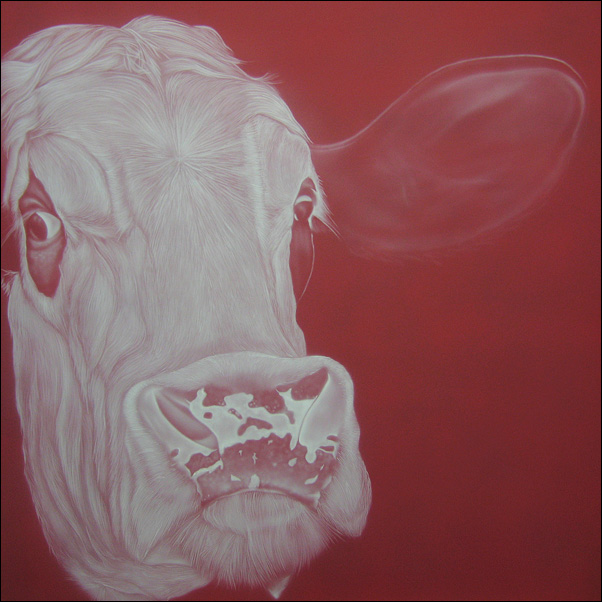
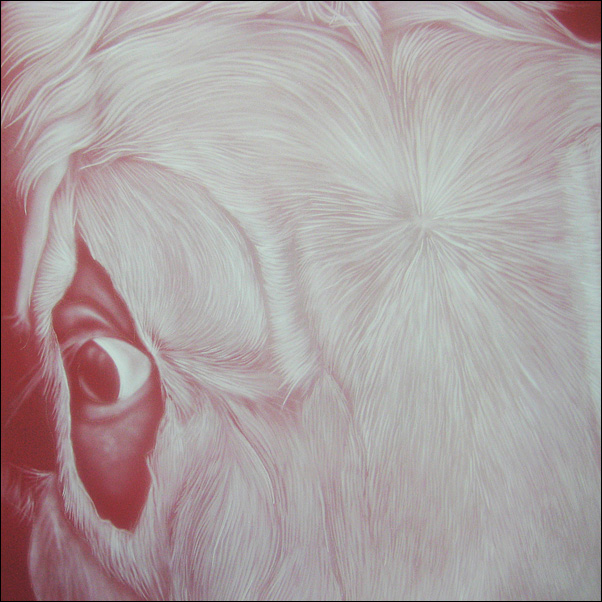
The white underpainting is now almost complete. The mottled nose detail has been defined and the whole piece is ready for the next stage.
STEP 4
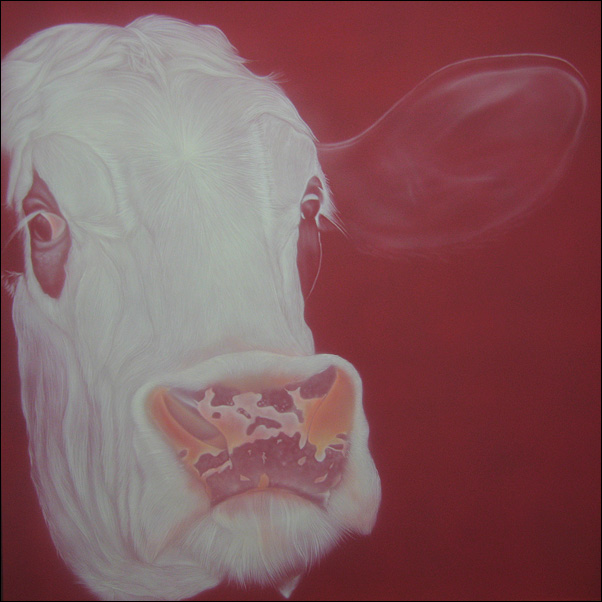
You may notice that some of the hair detail appears to be missing. This is because I have gone over with white again to cover any evidence of the background colour that was peeping through in certain areas. I have also now brought in some colour to the nose and mixed a shading grey to establish the shadows. Everything still looks very flat but the layering in subsequent steps will make everything look more realistic.
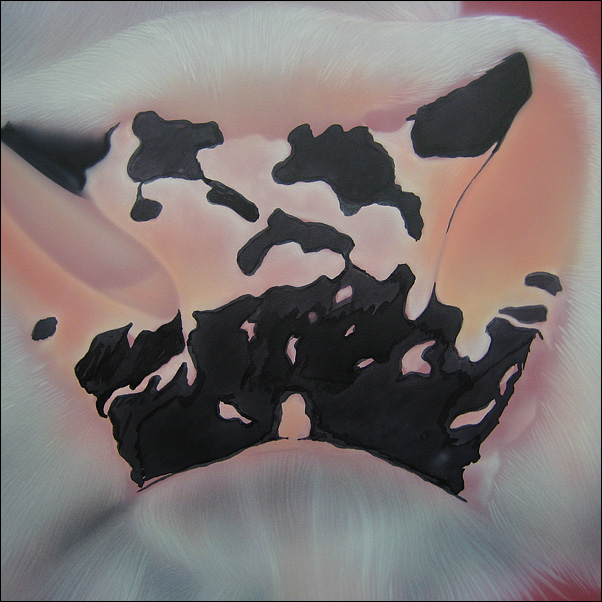
STEP 5
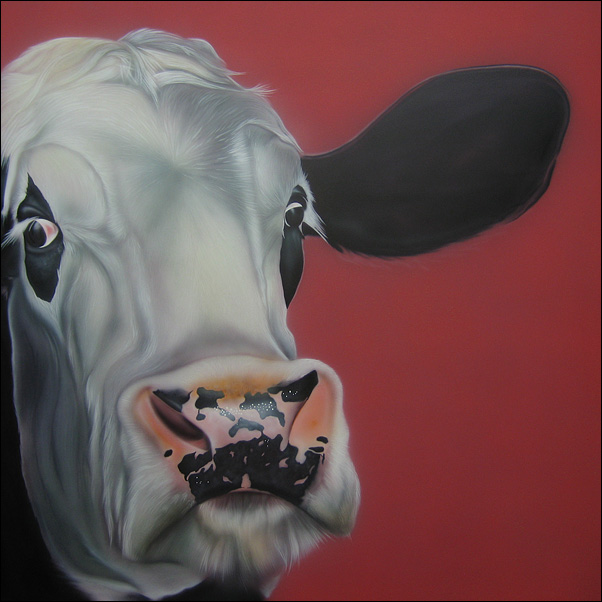
With a paintbrush I thought it was time to lay down some of the darkest areas so I can get a feel for the whole image. It looks like black but is in fact a very very dark violet. The nose detail looks very messy at this early stage above but I want to create an underlying textire to the nose that will show through when the other paint is applied.
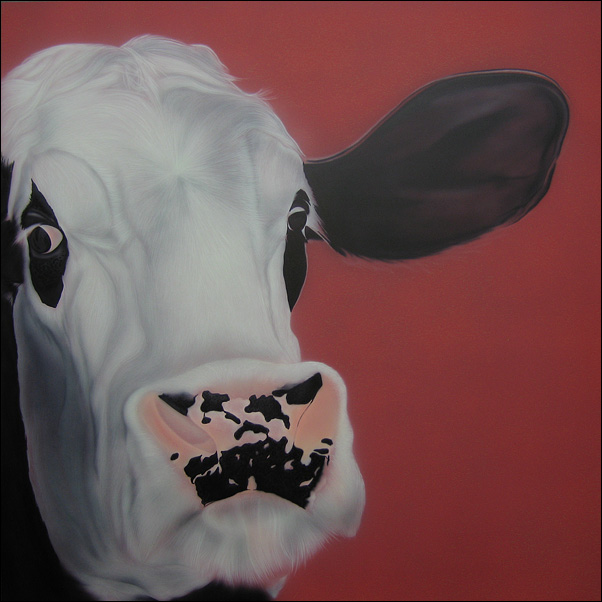
STEP 6
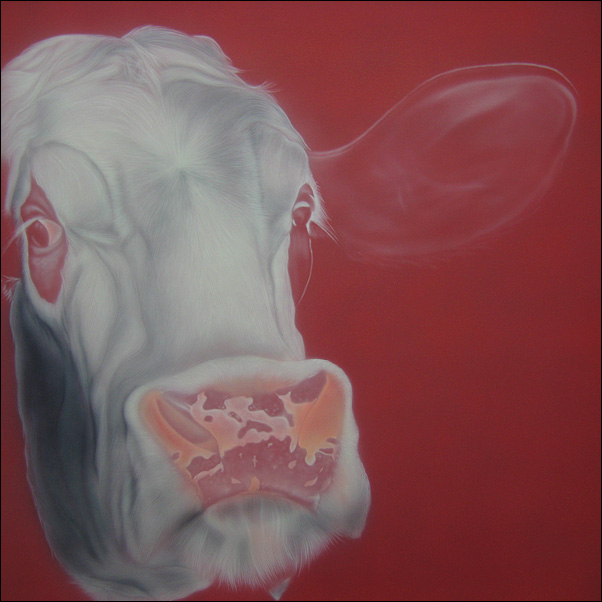
I now mix my colours that I want to layer over the white. There are creams and even greens. I'm not after photorealism here so I can afford to be quite free with my mixes.You will notice also that I have started to re-establish the hair detail with the original white and a paint brush. This gives the effect of light hitting the hair in certain places and also brings back detail that was lost previously.
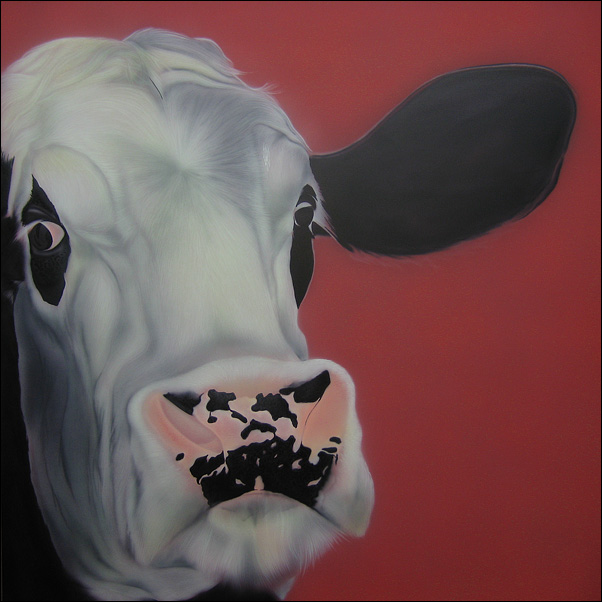
STEP 7
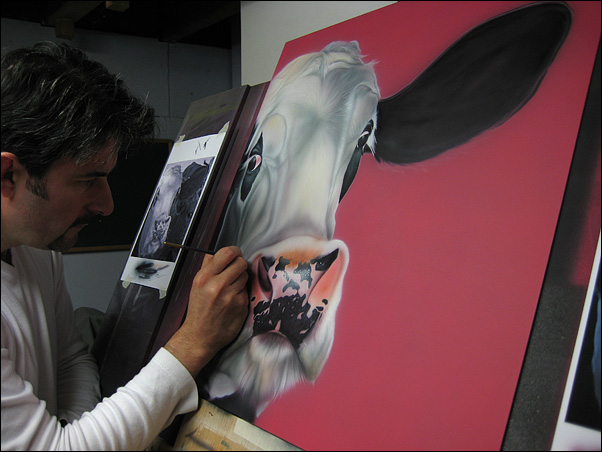
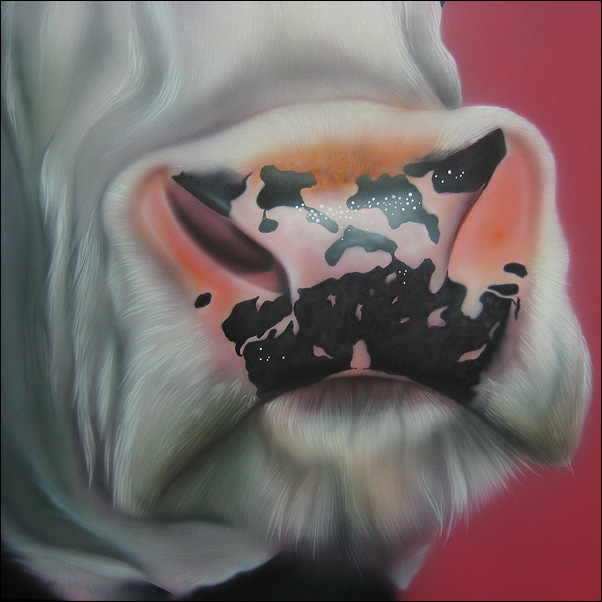
With hair detail almost finished I have also added highlights to the nose giving a slightly wet and more 3D look.

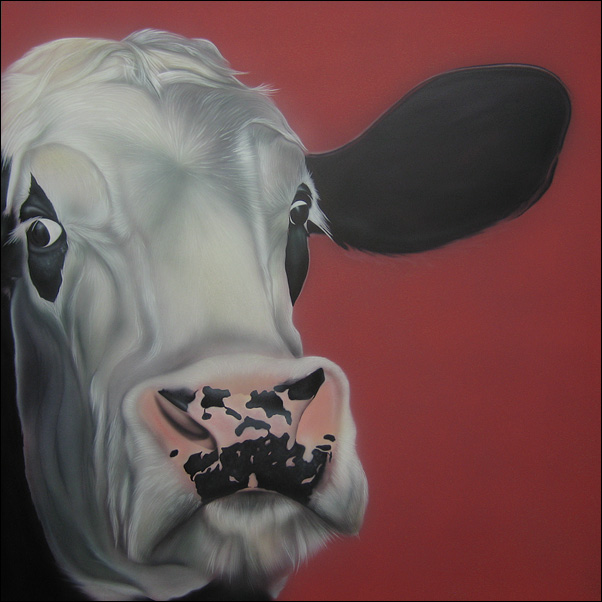
STEP 8
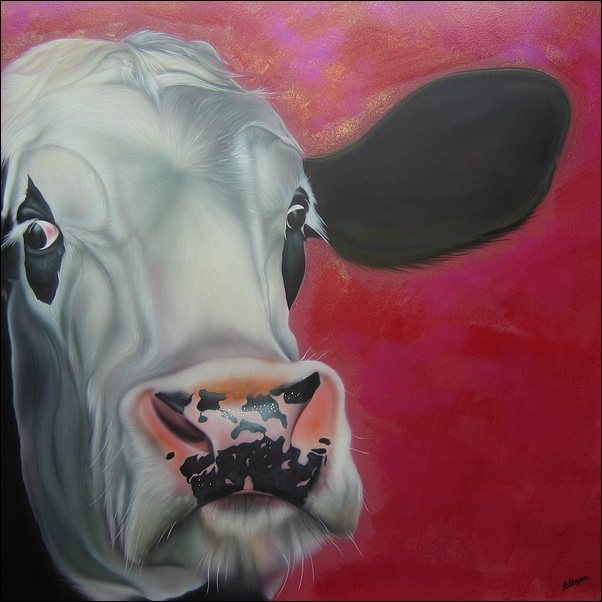
Next I wanted to loosly paint the background with special effect sparkle paints using a flat paint brush to give the whole painting a vibrant look. Last of all is to add some more random stray hairs coming from the mouth and nose.
Finished apart from the lacquer!